Need help in using our WordPress plugin?
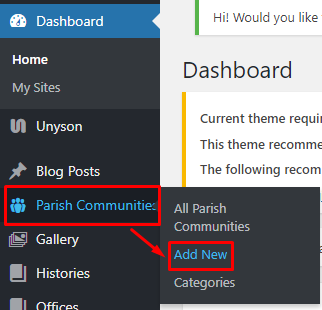
To create a new Parish Community item, navigate in WordPress Dashboard to Parish Communities > Add New.
|
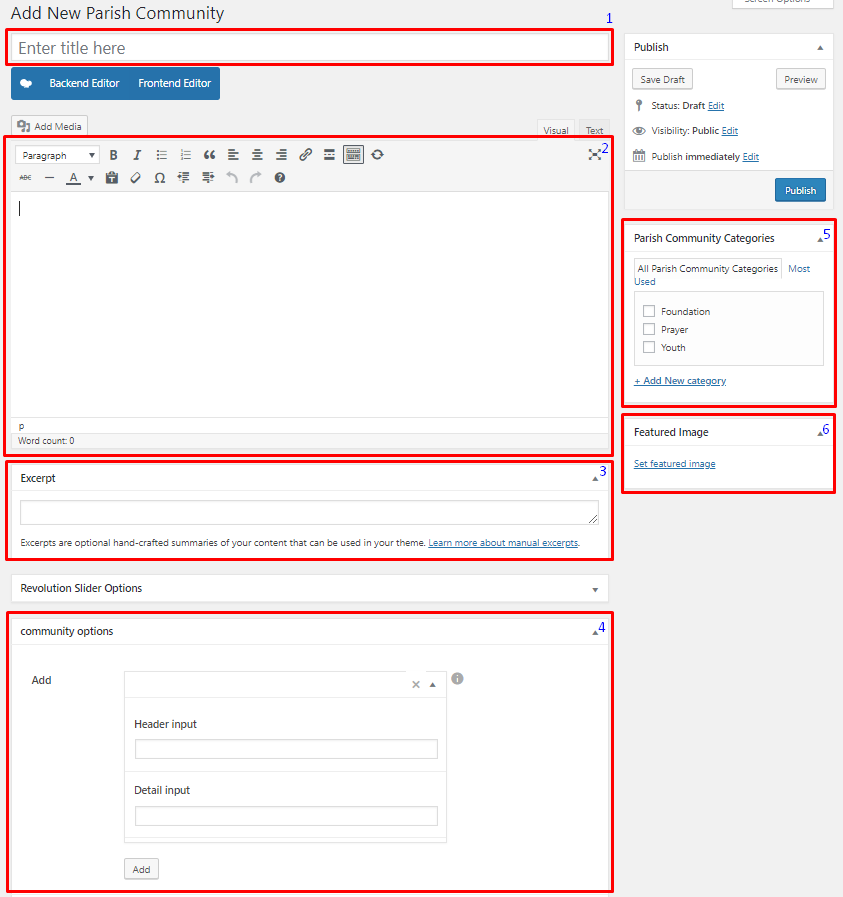
The Add New Parish Community page will show. Add the details for the Parish Community.
|
Title - Title of the Parish Communities.
Editor container - You can add descriptions about the Parish Communities on this area.
Excerpt - Short summary of the information about the community.
Community options - Add a member of the community.
- Header input - Position of the Member. ex: President
- Detail input - Name of the member.
Parish Community Categories - Group a Parish Community with other Parish Communities in the same category.
Featured Image - The image shown in the pages.
After adding all the details, click on Publish button to save.
To delete a Parish Community, navigate your Dashboard to Parish Communities > All Parish Communities
In the Parish Communities page, you will see all the created Parish Community.
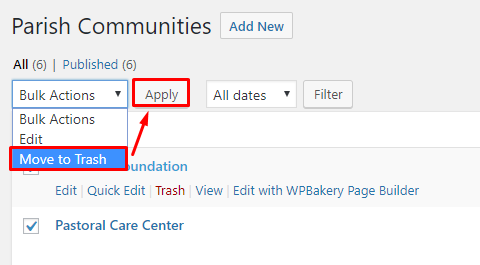
To delete a Parish Communities, you have two options:
Single Parish Community Delete - Hover your mouse pointer on the Parish Community that you would like to delete. You will see a Trash option pop-up. Click on Trash to delete.
Multiple Parish Communities Delete - To delete multiple galleries, click on the box beside the Parish Communities you would want to delete. Then click on the drop-down box for Bulk Actions and choose the Move to Trash option. Click on Apply button to delete.
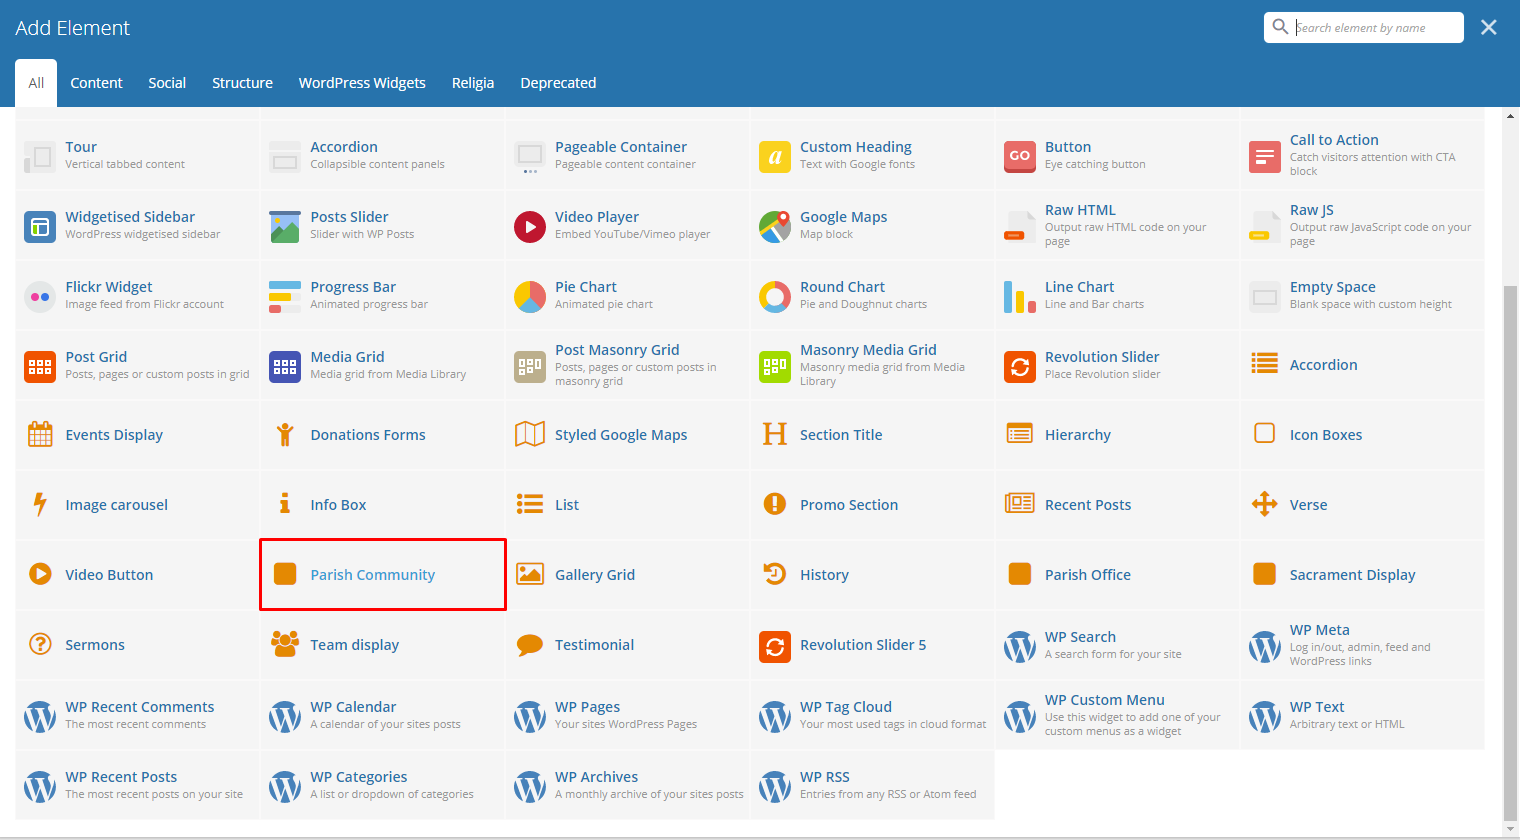
To add Parish Communities to a page, an element in the Visual Composer is used: Parish Community
|
This is the element that will add Parish Communities on the page. For more information about this element, go to Religia Custom Shortcodes > Parish Community.